
How to Get Started with Shirt Customization: A Beginner's Guide
Upload time :November 27, 2023
Shares
Reads
If you want to add a personal touch to your wardrobe, shirt customization is a great way to do it. To get started, you'll need to choose a shirt and design that suits your style. Once you have an idea in mind, you can select the printing method that best fits your needs. From screen-printing to embroidery, there are several options available to create your custom design.
The next step is to prepare your artwork. This may involve creating a digital file or sketching out your design on paper. Once your artwork is ready, you can move onto printing or embroidering your design onto the shirt. It's important to follow the chosen printing method and use the correct tools and materials for the best results.
Finally, caring for your customized shirt is crucial to ensure it lasts as long as possible. Always check the washing instructions and be sure to wash your shirt inside-out to prevent damage to the design. By following these steps, you'll be on your way to creating a one-of-a-kind shirt that reflects your personal style.
1. Choose a shirt and design
The first step in shirt customization is choosing the right shirt and design. There are a variety of different types of shirts to choose from, including t-shirts, polo shirts, button-downs, and more. When selecting a shirt, consider the fabric, color, and style that best fits your needs.
Once you have chosen your shirt, it's time to decide on a design. You can either create your own design or choose from pre-made designs offered by many custom shirt companies. If you're creating your own design, there are several tools available online that can help you bring your vision to life. Some popular design software includes Adobe Illustrator, Photoshop, and Canva.
When designing your shirt, it's important to keep in mind the printing method that will be used. The most common printing methods for custom shirts are screen printing and digital printing. Screen printing involves creating a stencil of your design and then transferring the ink onto the shirt through a screen. Digital printing, on the other hand, uses a printer to directly apply the design onto the shirt.
After you have finalized your design and selected a printing method, it's time to find a reputable custom shirt company to bring your creation to life. There are many online companies that specialize in custom shirts, offering a range of options for fabric, color, and printing methods. Be sure to do your research and read reviews before selecting a company to ensure that you receive a high-quality product.
Once you have received your custom shirt, there are several ways to care for it to ensure that it lasts as long as possible. Always wash your shirt inside out in cold water to prevent fading and damage to the design. Avoid using bleach or harsh detergents, as these can damage the fabric and printing. Additionally, never use a dryer on high heat, as this can also cause damage to the shirt and design.
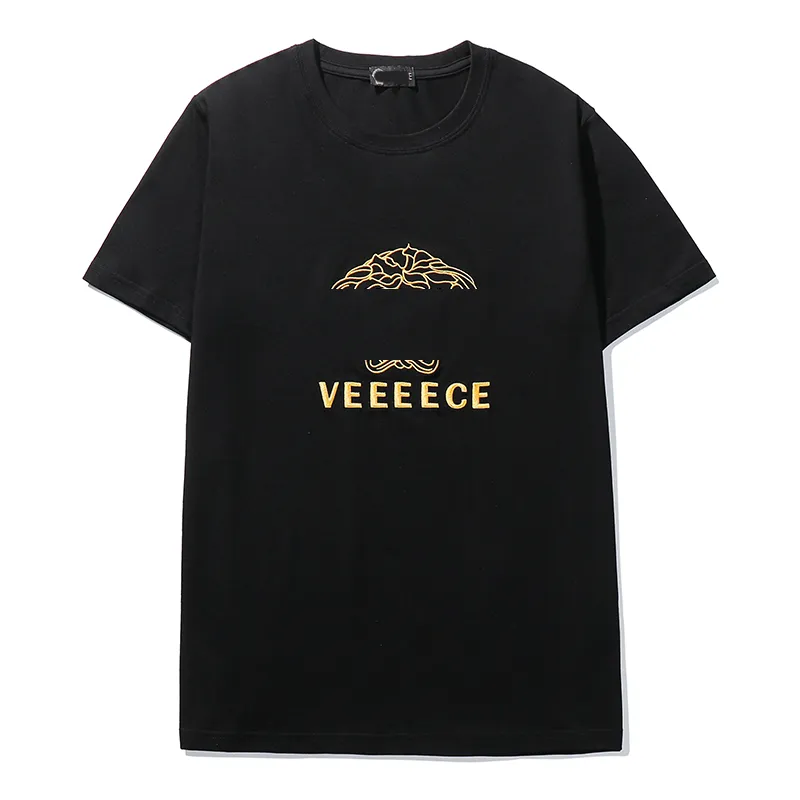
Buy Now
See More: Wholesale Products
In addition to creating custom shirts for personal use, shirt customization can also be a great way to promote a business or event. Many companies use custom shirts as a marketing tool, featuring their brand logo or slogan on the shirt. This can be a great way to increase brand recognition and create a sense of unity among employees or event attendees.
2. Select printing method
But getting started with shirt customization can feel daunting, especially if you've never done it before. That's why we've put together this beginner's guide to help you navigate some of the most important aspects of shirt customization. In this guide, we'll be focusing specifically on selecting the right printing method for your custom shirts.
Step 1: Understand the Different Printing Methods
There are several different methods that can be used to print designs onto shirts. Here are some of the most common:
- Screen Printing: This is a popular method for printing large quantities of shirts with the same design. It involves creating a stencil of the design and using it to apply ink directly onto the fabric. The ink then dries and becomes part of the shirt.
- Direct-to-Garment (DTG) Printing: This method involves using a specialized printer to apply the design directly onto the fabric of the shirt. DTG printing is a good choice for small orders or designs with multiple colors and gradients.
- Vinyl Printing: This method involves cutting the design out of vinyl material and applying it to the shirt using heat transfer. Vinyl printing works well for simple designs with solid colors.
- Sublimation Printing: This method involves printing the design onto special paper, which is then transferred onto the shirt using heat. Sublimation printing is ideal for designs with a lot of detail and vibrant colors.
Each printing method has its own advantages and disadvantages, so it's important to consider your needs and budget when selecting a method.
Step 2: Consider Your Design and Quantity
The design you choose will play a big role in determining which printing method is best for your custom shirts. For example, if your design has a lot of small details and multiple colors, DTG printing or sublimation printing may be your best bet. If your design is simpler and has only one or two colors, vinyl printing may be a more cost-effective option.
You should also consider how many shirts you need to have printed. If you're only printing a few shirts, DTG printing or sublimation printing may be the most affordable option. However, if you need to print a large quantity of shirts with the same design, screen printing may be the more cost-effective choice.
Step 3: Choose a Quality Printing Service
Once you've decided on the printing method that best suits your needs, it's time to find a quality printing service to bring your design to life. Look for a printing service that has experience working with your chosen printing method and can provide examples of their work. You should also read reviews and ask for referrals from friends or colleagues who have had custom shirts printed before.
It's also important to consider the quality of the shirts themselves. Look for a printing service that uses high-quality, durable shirts that will stand up to frequent wear and washing.
In Conclusion
3. Prepare artwork
1. Choose your method
Before you begin designing your artwork, you need to decide how you want to customize your shirts. There are several methods available, including:
- Screen printing: this is the most common and cost-effective method of customization. It involves creating a stencil (or "screen") of your design and using it to transfer ink onto the fabric.
- Heat transfer: this method involves printing your design onto transfer paper and then using heat to transfer the image onto the fabric.
- Embroidery: embroidery involves stitching your design directly onto the fabric. This method works best for simple designs with fewer colors.
- Direct-to-garment (DTG): this method uses specialized printers to print your design directly onto the fabric. It is best for intricate designs with many colors.
Each method has its pros and cons, so it's important to choose the one that best suits your needs and budget.
2. Create your design
Once you've chosen your customization method, it's time to create your design. There are several ways to do this, depending on your skill level and resources:
- Use graphic design software: if you have access to programs like Adobe Photoshop or Illustrator, you can use them to create your design from scratch. These programs offer a wide range of tools and features to help you create intricate designs with multiple layers and colors.
- Use online design tools: if you don't have access to graphic design software, there are many online tools that allow you to create designs using pre-made templates and images. Some popular options include Canva, PicMonkey, and Crello.
- Hire a designer: if you're not confident in your design skills, you can hire a freelance designer to create your artwork for you. Sites like Upwork and Fiverr offer a wide range of designers at different price points.
No matter which method you choose, make sure your design is high-quality and scalable. You don't want to end up with a blurry or distorted image once it's printed onto the shirt.
3. Prepare your artwork
Now that you have your design, it's time to prepare it for printing. Here are some tips to ensure your artwork is ready for production:
- Convert your design to vector format: if you created your design using graphic design software, make sure to convert it to a vector format (such as SVG, EPS, or AI). Vector files use mathematical equations to create images, which means they can be scaled up or down without losing quality. This is important if you want to print your design onto shirts of different sizes.
- Set the right resolution: if you're using a raster format (such as PNG or JPEG), make sure to set the resolution to at least 300 dpi (dots per inch). This ensures that your design will be crisp and clear when printed onto the shirt.
- Consider color separations: if you're using screen printing, you'll need to separate your design into different colors. This allows each color to be printed separately onto the shirt. Make sure to consult with your printer to determine the best color separation process for your design.
4. Choose your shirt
Finally, it's time to choose the shirt you want to customize. Consider factors like the fabric type, color, and size. Make sure to choose a shirt that will complement your design and appeal to your target audience. If you're unsure about which shirt to choose, ask your printer for recommendations.
4. Print or embroider design
If you're new to shirt customization, the process of printing or embroidering designs onto your shirts might seem intimidating. However, with a bit of guidance, you can easily get started and create shirts that are customized to your taste.
Here's what you need to know about printing and embroidering designs onto shirts:
Printing Designs
Printing designs onto shirts involves using ink to transfer a design onto the fabric. There are a few different types of printing methods you can use, including screen printing, digital printing, and heat transfer printing.
Screen printing is one of the most common methods used for printing designs onto shirts. This method involves creating a stencil of your design and using it to apply ink directly onto the fabric. Screen printing is great for creating bold, vibrant designs and can be used on a variety of fabrics.
Digital printing, on the other hand, involves using a printer to apply ink directly onto the fabric. This method is often used for photographic prints or designs with a lot of colors and gradients. Digital printing can also be used on a variety of fabrics, but it's important to note that it works best on lighter colored shirts.
Heat transfer printing is another popular method for printing designs onto shirts. This involves printing your design onto transfer paper, which is then applied to the fabric using heat and pressure. Heat transfer printing is ideal for smaller quantities or for creating shirts with intricate designs.
Embroidering Designs
Embroidering designs onto shirts involves using thread and a needle to create a design directly on the fabric. This method creates a textured, three-dimensional design that can add a unique touch to your shirts.
There are a few different types of embroidery methods you can use, including hand embroidery and machine embroidery. Hand embroidery involves using a needle and thread to create your design by hand. This method is great for creating small, detailed designs, but it can be time-consuming.
Machine embroidery involves using an embroidery machine to create your design automatically. This method is faster than hand embroidery and can be used to create larger designs. Machine embroidery can also be used to create more complex designs, such as logos or lettering.
Choosing Your Design
Before you start printing or embroidering your design onto your shirt, you'll need to choose what you want to put onto your shirt. When choosing your design, consider factors like color, size, and placement.
Color: Think about the colors you want to use in your design and how they will look against the color of your shirt. If you're using digital or heat transfer printing, keep in mind that some colors may not show up as vibrantly on darker colored shirts.
Size: Consider how large you want your design to be and how it will fit on your shirt. If you're using embroidery, keep in mind that larger designs may take longer to create and may require more thread.
Placement: Think about where you want to place your design on your shirt. For example, if you're creating a logo design, you may want to place it on the chest or sleeve of your shirt. If you're using digital or heat transfer printing, think about how your design will wrap around the shirt.
Getting Started
Once you've chosen your design and decided on your printing or embroidery method, it's time to get started. Here's a step-by-step guide to help you through the process:
1. Choose your shirt: Start by choosing the shirt you want to customize. Make sure it's clean and dry before you begin.
2. Prepare your design: If you're using screen printing or embroidery, you'll need to create a stencil or digital file of your design. If you're using digital or heat transfer printing, you can upload your design directly to the printer.
3. Print or embroider your design: Follow the instructions for your chosen printing or embroidery method to transfer your design onto your shirt.
4. Let it dry: Once you've printed or embroidered your design, let your shirt dry completely before wearing or washing it.
5. Care for customized shirt
1. Follow the washing instructions
Customized shirts may require special care when it comes to washing. Be sure to follow any washing instructions provided by the manufacturer or the customization service. In general, it is best to wash your customized shirt in cold water and on a gentle cycle. Avoid using bleach or harsh detergents that could damage the fabric or the design.
2. Turn the shirt inside out
Turning your shirt inside out before washing can help protect the design from fading or cracking. This is especially important if your shirt has a print or graphic on the front. By turning it inside out, you can reduce any friction that might occur between the design and other clothes in the washing machine.
3. Hang dry your shirt
While most shirts can be dried in a dryer, it's better to hang dry your customized shirt. The heat from the dryer can cause the design to crack or peel over time. Instead, hang your shirt up to air dry. This will help preserve the design and extend the life of your shirt.
4. Use an iron with care
If your customized shirt requires ironing, use caution when pressing the design. Always turn the shirt inside out and use a low heat setting. Avoid ironing directly over the design if possible, as this can cause the ink or vinyl to melt or stick to the iron. Instead, place a thin cloth or piece of paper over the design and iron over that.
5. Store your shirt properly
After wearing and washing your customized shirt, store it properly to keep it looking its best. Fold it neatly and place it in a drawer or on a shelf. Avoid hanging it on a hanger for long periods of time, as this can cause the shirt to stretch or lose its shape. If you need to hang your shirt, use a padded hanger to prevent any creases or wrinkles.
By following these tips, you can help ensure that your customized shirt stays looking great for years to come. Remember, taking care of your clothes is just as important as choosing the right design or customization service. With a little bit of effort, you can enjoy your unique and personalized shirt for many wears to come.
Recommended related content
Unlocking the Secrets of Guitar Pedals: A Beginner's Guide
How to Wear Double Breasted Suits for Men: A Comprehensive Guide
Discovering the World of Metal Magic: A Beginner's Guide
How to Make Your Own Coin Ring: A Step-by-Step Guide
How to Use a Gimbal for Smooth Video Footage: A Beginner's Guide
