
What are the Best Ways to Make a DIY Wrap Bracelet?
Upload time :November 29, 2023
Shares
Reads
If you're looking for a stylish and affordable accessory to add to your collection, then making a DIY wrap bracelet is a great option. To start, you'll need a few materials like leather cord, beads, and a clasp. Once you have everything ready, follow these simple step-by-step instructions: first, cut the leather into the desired length; second, string the beads onto the cord; third, knot the cord around the bead; fourth, repeat until you reach the desired number of wraps; fifth, attach the clasp. Finally, you can personalize the design by adding charms or choosing different colors and patterns. By following these steps, you can create a trendy wrap bracelet that's perfect for any occasion and matches your unique style. So why not give it a try and make your own DIY wrap bracelet today?
1. Materials needed for DIY wrap bracelet
Materials Needed for DIY Wrap Bracelet
The first step in making a DIY wrap bracelet is to gather all the necessary materials. Here are the materials needed to make a basic wrap bracelet:
1. Leather or suede cord - You can choose any color or width that you prefer. The length of the cord depends on how many times you want to wrap it around your wrist. A good starting point would be to use 2-3 yards of cord.
2. Beads - You can use any type of bead that you like. They can be big or small, colorful or plain. It's up to you! Make sure that the holes of the beads are big enough to fit through the cord.
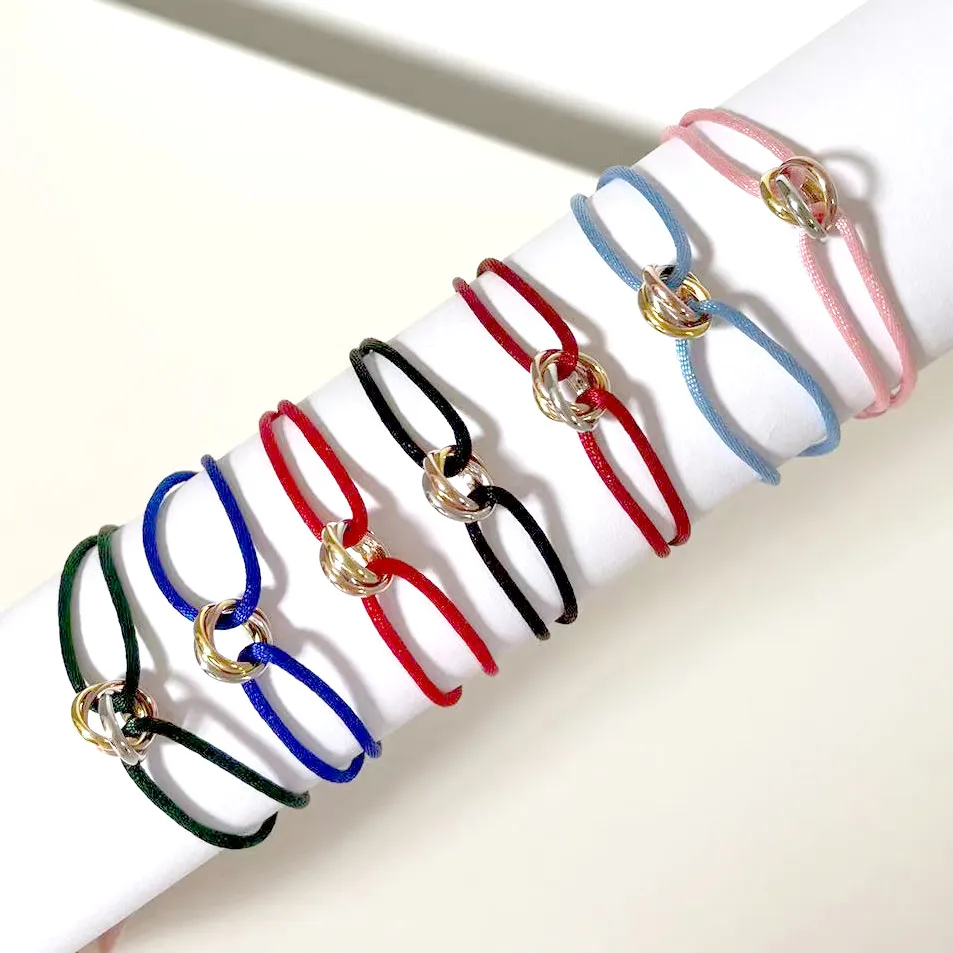
3. Button or toggle clasp - This will be used to fasten the bracelet. You can choose any style or size that you like. Just make sure it fits with the overall design of your bracelet.
Buy Now
See More: Wholesale Products
4. Scissors - You will need scissors to cut the cord to the desired length.
5. Glue - This is optional, but you may want to use glue to secure the knots in place.
Now that you have gathered all the necessary materials, let's move on to the steps for making a DIY wrap bracelet.
Steps for Making a DIY Wrap Bracelet
Step 1: Cut the Cord
Using scissors, cut the leather or suede cord to the desired length. It's important to measure your wrist beforehand to ensure that the bracelet will fit comfortably.
Step 2: Add the Beads
String the beads onto the cord in any pattern that you like. You can add as many or as few beads as you prefer. Once you have added all the beads, leave a little bit of space at the end of the cord for attaching the clasp.
Step 3: Attach the Clasp
Thread the end of the cord through the button or toggle clasp and tie a knot to secure it in place. You may want to use glue to secure the knot if it feels loose.
Step 4: Begin Wrapping
Wrap the bracelet around your wrist and adjust the beads so that they are evenly spaced. You can choose to wrap the bracelet around your wrist once or multiple times depending on the length of the cord.
Step 5: Fasten the Clasp
Once you have wrapped the bracelet around your wrist, thread the other end of the cord through the loop of the button or toggle clasp and tie a knot to secure it in place. Again, you may want to use glue to secure the knot.
Congratulations! You have now made your very own DIY wrap bracelet. The beauty of this project is that you can customize it to your liking. You can experiment with different colors, patterns, and types of beads to create a bracelet that is uniquely yours.
2. Step-by-step instructions for making the bracelet
In this article, we’ll cover the best ways to make a DIY wrap bracelet and provide step-by-step instructions to guide you through the process.
Materials Needed
Before we get started on the instructions, let’s first discuss the materials you’ll need to make a DIY wrap bracelet:
- Leather or suede cord
- Beads (optional)
- Scissors
- Glue
- Thread (in a coordinating color to your cord)
- Button or clasp
Instructions
Now that you have all your materials ready, it’s time to start making your DIY wrap bracelet! Follow these step-by-step instructions:
1. Cut a piece of leather or suede cord to your desired length. For a standard wrap bracelet, we recommend cutting the cord to around 36 inches.
2. If you’re using beads, thread them onto the cord before you start wrapping. You can use as many or as few beads as you like, depending on your personal preference.
3. Tie a knot at one end of the cord, leaving about an inch of excess cord. This knot will serve as the starting point for your wrap bracelet.
4. Take the other end of the cord and start wrapping it around your wrist. Leave about an inch of excess cord at the end of the wrap.
5. Once you’ve wrapped the cord around your wrist, tie a knot to secure it in place. Make sure the knot is tight enough so that the wrap bracelet doesn’t slip off your wrist.
6. Repeat steps 4 and 5 until you’ve reached your desired number of wraps. We recommend doing around three to four wraps for a standard wrap bracelet.
7. Once you’ve completed all your wraps, tie a knot at the end of the cord and trim any excess cord with scissors.
8. Apply a small amount of glue to the knots at both ends of the bracelet. This will help keep the knots in place and prevent them from unraveling.
9. Using your needle and thread, sew a button or clasp onto one end of the bracelet. This will serve as a closure for your wrap bracelet.
10. Once the button or clasp is sewn on, your DIY wrap bracelet is complete!
Tips and Tricks
Here are some tips and tricks to help you create the perfect DIY wrap bracelet:
- Experiment with different cord colors and bead combinations to create a unique look.
- To make your wrap bracelet more durable, use a thicker cord or double up on the cord when wrapping.
- When tying knots, make sure they’re tight enough to prevent the bracelet from slipping off your wrist.
- If you’re having trouble threading beads onto the cord, try using a beading needle.
- If you don’t have a button or clasp, you can also use a simple knot to close the bracelet. However, a button or clasp will make it easier to put on and take off.
Conclusion
Making a DIY wrap bracelet is a fun and creative way to add a personalized touch to your jewelry collection. With just a few materials and some simple instructions, you can create a trendy and versatile accessory that you’ll love to wear.
3. Tips for personalizing and customizing the design
If you're new to the world of DIY jewelry-making, don't worry – it's easier than you might think! With a few basic supplies and a little bit of creativity, you can create a beautiful wrap bracelet that you'll be proud to wear. In this article, we'll share some tips for personalizing and customizing your DIY wrap bracelet design.
Tip #1: Choose Your Materials
The first step in creating a DIY wrap bracelet is to choose your materials. You'll need beads or charms, cord or leather, and a closure of some kind. Beads and charms come in a wide variety of sizes, shapes, and colors, so you can choose ones that fit your personal style. Cord or leather can also be customized – you can choose from different colors, textures, and thicknesses. For the closure, you can use a button, a slider bead, or a toggle clasp. The choice is yours!
Tip #2: Consider Your Wrapping Pattern
Once you've chosen your materials, it's time to decide on your wrapping pattern. Wrap bracelets can be wrapped around your wrist anywhere from one to five times, depending on how thick you want the bracelet to be. You can wrap each strand of cord or leather separately, or braid them together for a unique look. You can also alternate your beads or charms with knots or other decorative elements for added interest.
Tip #3: Add Personal Touches
One of the best things about making your own DIY wrap bracelet is the ability to add personal touches. You can incorporate meaningful charms or beads that represent your hobbies, interests, or values. For example, if you love nature, you could include beads made from natural materials like wood or stone. Or, if you're a sports fan, you could add charms that represent your favorite team. You can also add initials or other personalized elements using letter beads or metal stamping tools.
Tip #4: Use Different Textures
Another way to personalize your DIY wrap bracelet is by using different textures. Mix and match cord or leather with chain, wire, or ribbon for added interest. You can also add texture by using beads or charms with unique finishes, such as matte, metallic, or iridescent. Experiment with different combinations until you find a look that you love.
Tip #5: Try Different Color Combinations
Finally, don't be afraid to play with color! Wrap bracelets can be made in any color combination you can imagine, so have fun with it. You can choose colors that complement each other, or go for a bold and bright look. You can also mix and match different shades of the same color for a subtle gradient effect. Whatever you choose, make sure it reflects your personal style and makes you happy.
In conclusion, making your own DIY wrap bracelet is a fun and creative way to express your personal style. By choosing your materials, considering your wrapping pattern, adding personal touches, using different textures, and trying different color combinations, you can create a bracelet that is uniquely yours. So, grab your supplies and get crafting – the possibilities are endless!
Recommended related content
What Are the Best Ways to Make Your Artificial Flower Bouquet Look Real?
What Are the Latest Trends in Evening Wear for Women?
What are the Best Women's Beach Shoes for Summer?
What are the Best Desk Organizers for a Clutter-Free Workspace?
